|
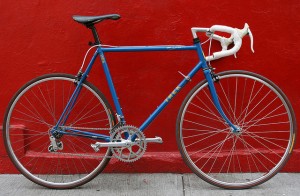
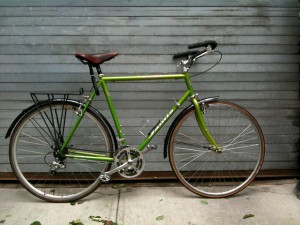
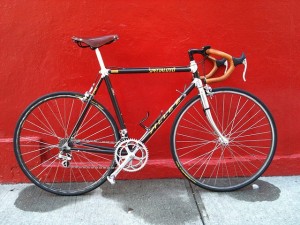
I sold the last of my old-school bikes (the Trek) to a nice fellow named Nick today. Before that, the Jamis sold to a nice young Portuguese dad, and the Specialized Allez went to a recently returned British-American. I wish I got pictures with each of the new owners since they were each so happy to have gotten the ‘perfect bike’. Each bike has a story… the Trek was T’s first bike, the green Jamis he rode cross-country, and the Epic was my first ‘real’ bike, which I bought in D.C. in 1993. Cheers to the bikes… may you ride safe and long! |
|
Category: Bikes
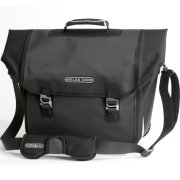
The Office Bag: a Better Better Brompton Bag from Ortlieb
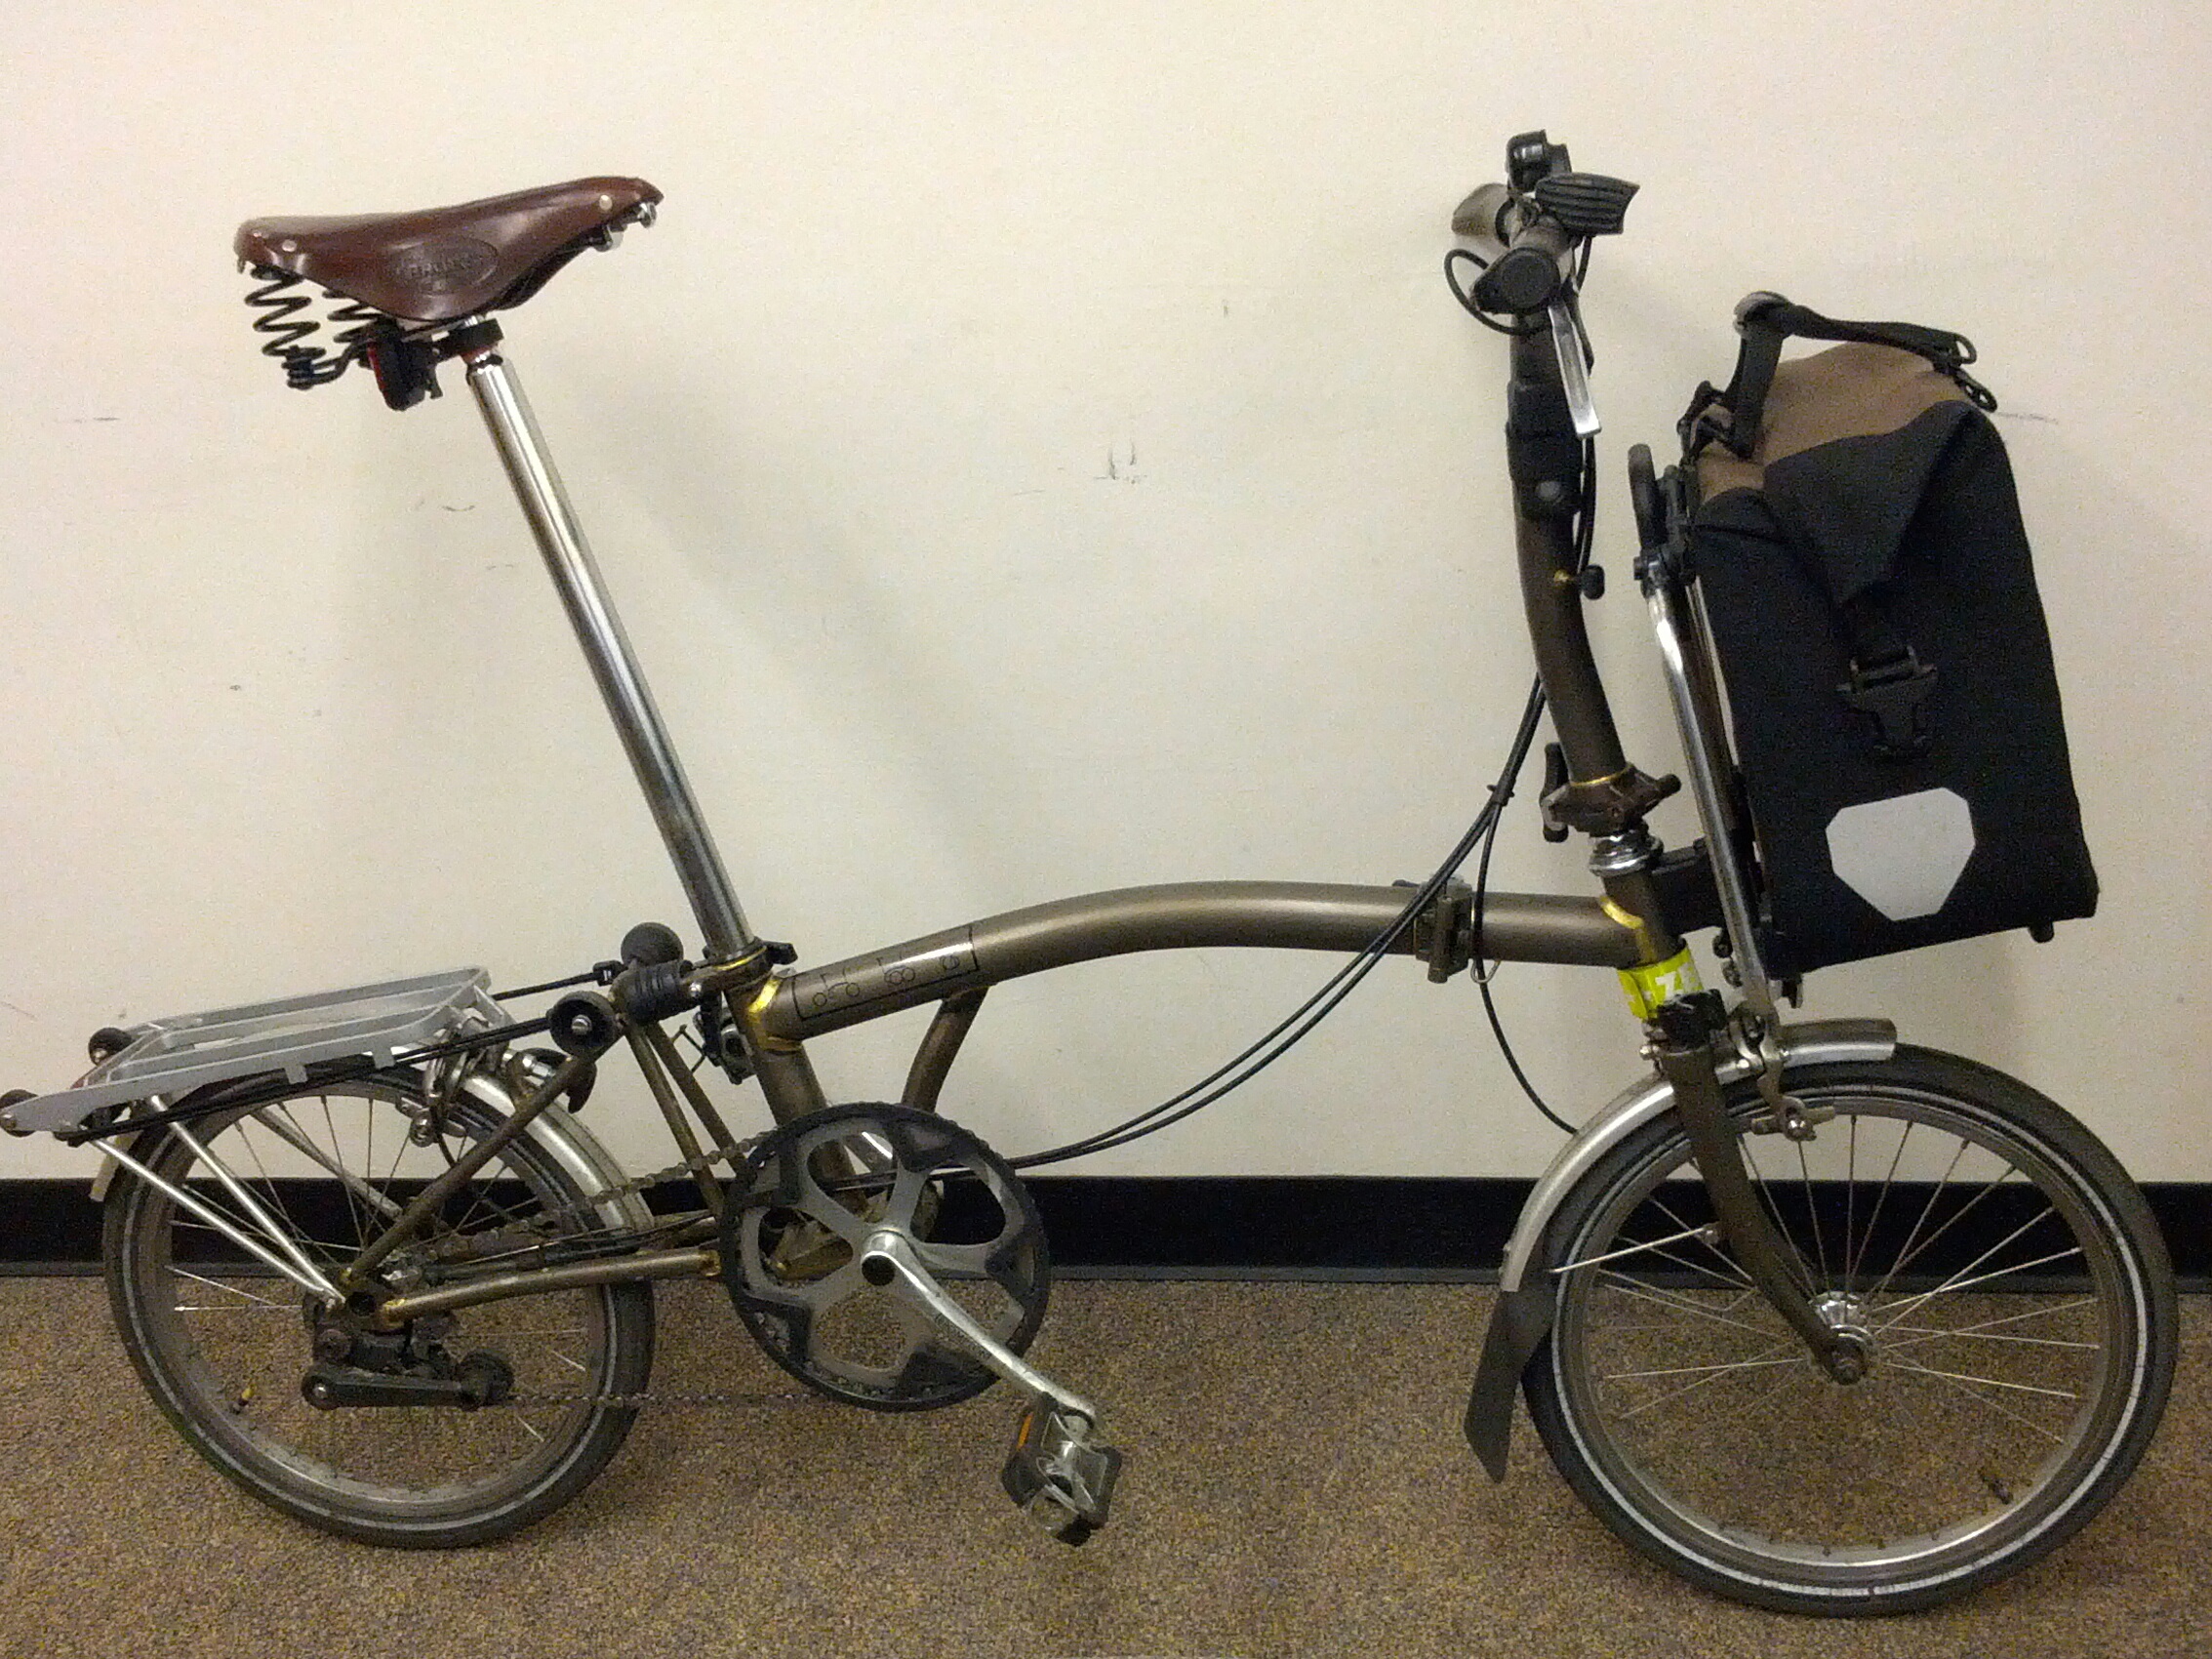
My first Ortlieb bag was a modified Downtown, which I attached to a Brompton S frame. It worked out great. But when I saw a priced-to-sell Ortlieb Office bag on CraigsList, I had to give it a shot. The “Ortlieb Office Bag Large Classic” is a clean, minimalist bag that is very well designed (despite some dumb flaws in its interior, which I won’t go into).
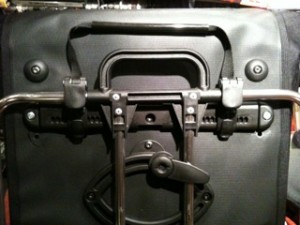
 The Office Bag utilizes Ortlieb’s QL3 mounting system. The bag’s hardware is minimal and perfectly horizontal so it needn’t be modified for use on Brompton’s S frame. Though the QL2 mounting system did have a ton of hardware on the bag itself, it was far simpler and much more versatile. Sure the hooks were bulky, but the bag included all of the hardware needed to clip it to nearly any rack on any bike. With the QL3, half of the mounting hardware is external. Therefore, each bike must have it’s own proprietary mount in order to accommodate the bag. And because the hardware is permanently affixed, it renders the rack unusable with devices like the Copilot bicycle seat, which I use on the Blackburn EX-1 rack on one of my bikes. To overcome this issue I attached a spare QL3 mount to the back of an old set of QL2 clips. This franken-mount nearly achieves a QL2-level of versatility for the QL3-equipped Office bag, but it is a bit wonky so I don’t use it too often.
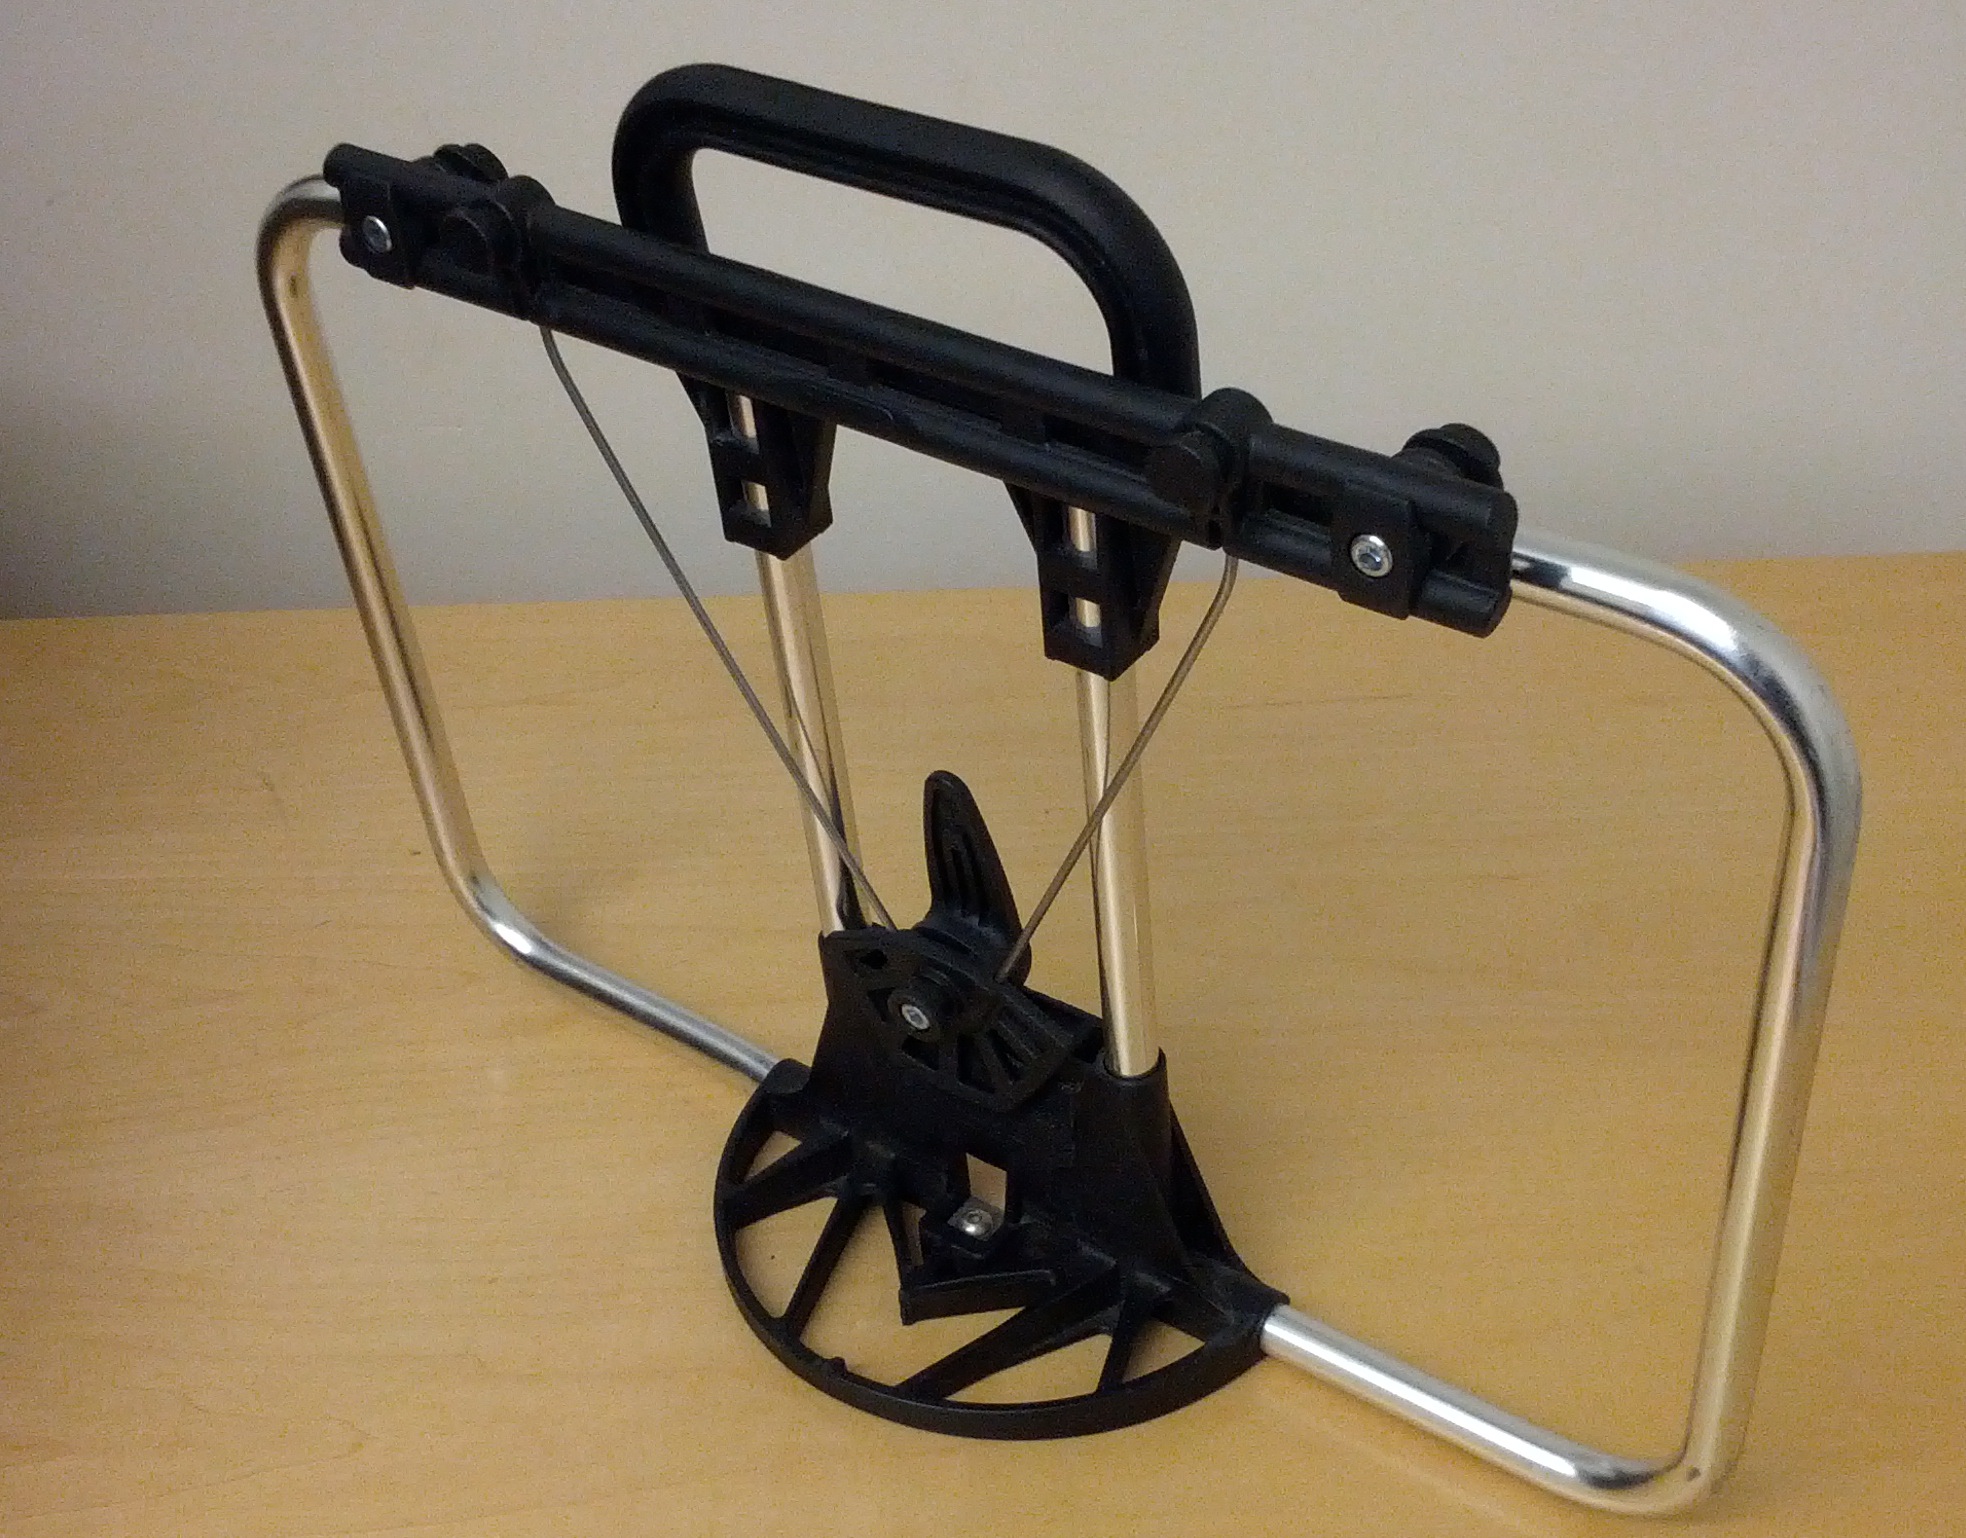
To attach the QL3 hardware to the S frame, simply remove the metal loops from the top of the QL3 rack, rotate them 180 degrees (so that they “point down”) and reattach the hardware (removing the cone-shaped shims so that the mount sits slightly closer to the rack). The support tongue should point up and the wire supports should flex about a half millimeter so the round base of the tongue fits snugly against the plastic at the bottom of the S frame. Once the hardware is mounted to the frame, simply click the bag into place and then drop the assembly on the carrier block.
The whole mounting process takes just a few minutes and it is very easy to remove the frame assembly from the bag (in fact you must avoid activating the QL3 release when carrying the bag as the frame assembly will fall off).
DIY Brompton Emergency Toolkit
 Brompton is coming out with their own toolkit (dunno when). It looks really nice, but it will likely be a costly little set.
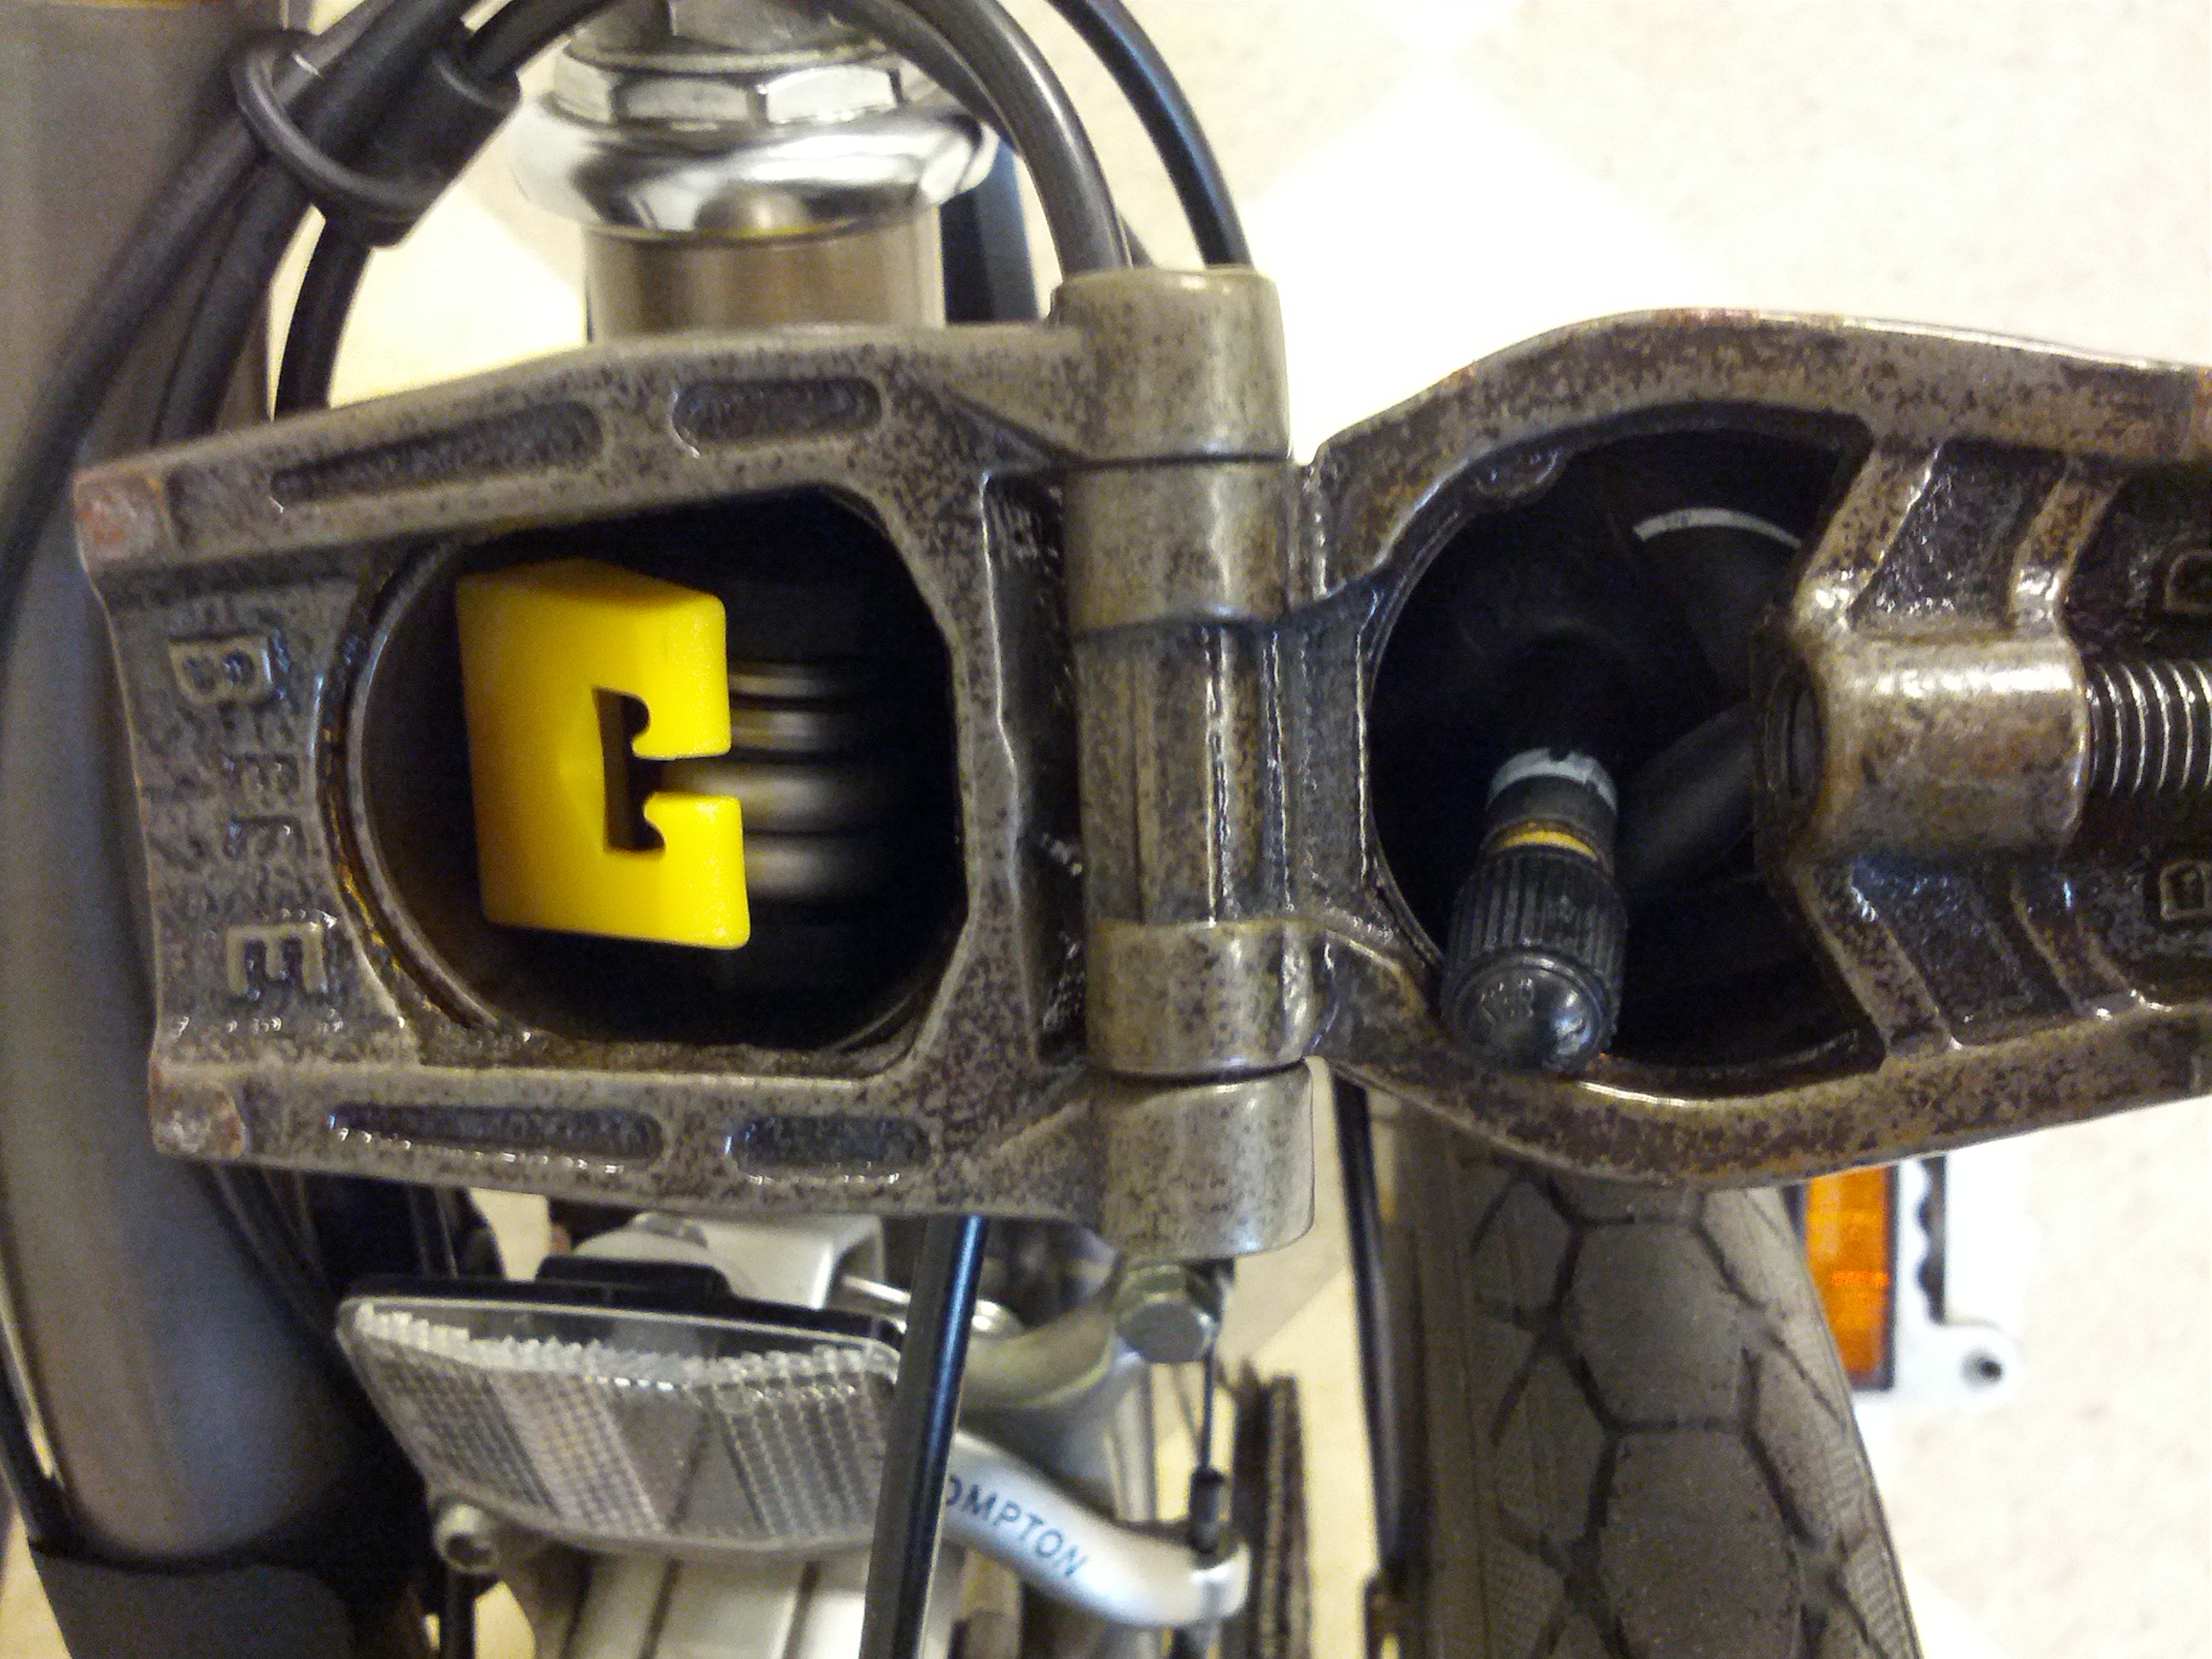
Inspired by the forthcoming Brompton kit, I pieced together an impromptu toolset. Admittedly, it lacks a crescent wrench to remove the front wheel, but it’s a start and I’ll update if/when I figure out where to stash a small adjustable wrench.
First, I snaked a replacement inner tube into the long top tube. The inner tube is curved, mimicking the shape of the top tube so it’s a pretty easy fit. The schrader valve makes for a good handle and the tube comes out without hassles.
It turns out that the Pedros Hex Set plus Screwdrivers fits in the front part of the top tube along with one tire lever. Be sure to put the hex set in first with the fat end pointing towards the head tube. Then use the tire lever as a wedge to hold the wrench in place. (The piece of inner tube or rubber band wrapped around the tire lever provides some padding and stops the duo from falling out when the bike is folded).
The zefal pump that came with my bike is basically worthless–I was never able to get more than a few psi with that thing. So I got a Lezyne Road Drive pump, which I housed in the seat post. (Some inner tube wrapped around the end helps keep it firmly in place).
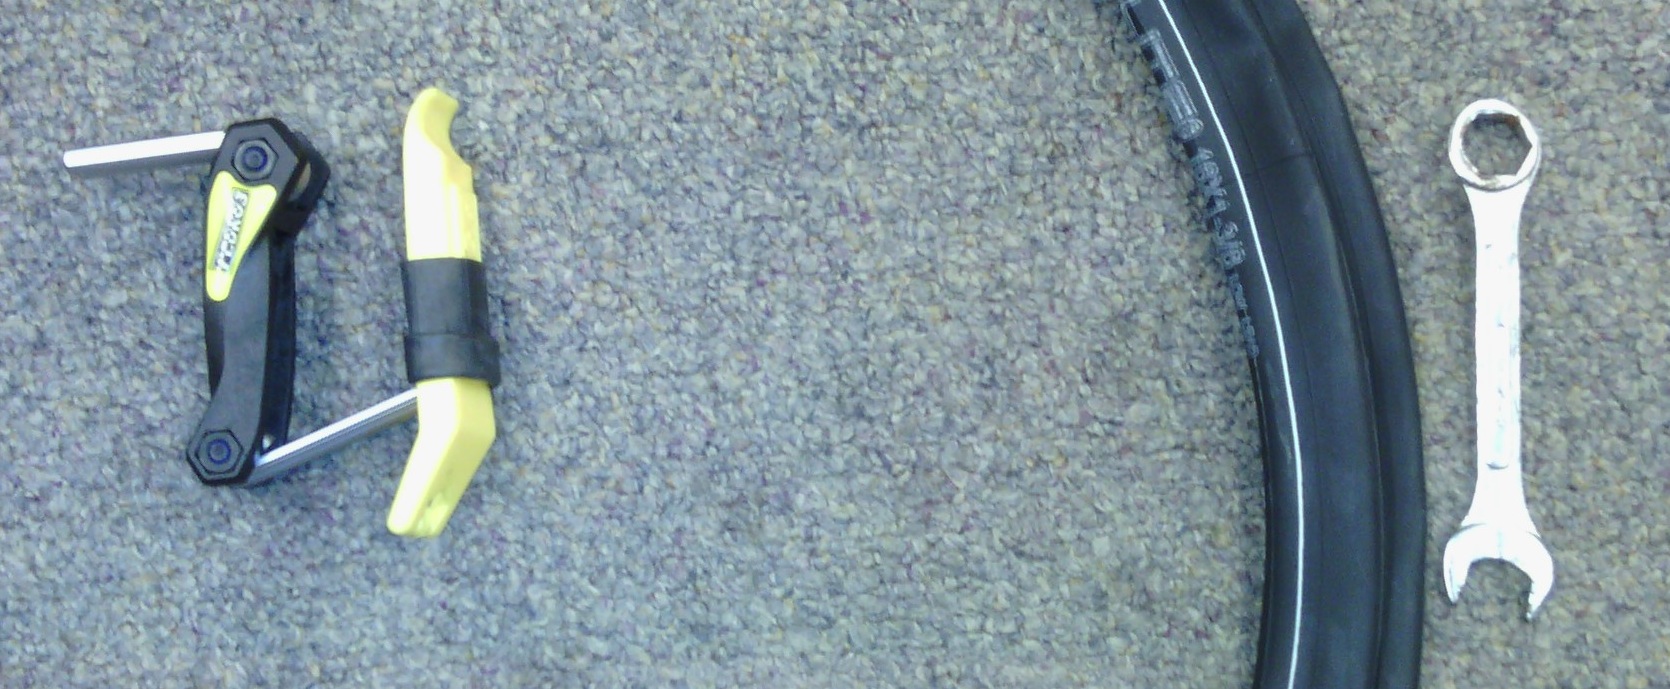
With tire, levers, hex- & screwdrivers, and a pump, I’m ready for almost anything. Now, how about that crescent wrench?
Update: I simply slid a 5/8″ wrench in with the inner tube and now I’m all set. Also, if you pick up the Lezyne pump, be sure to get the one with the Schrader and Presta (rather than the Presta/Slip fittings that come standars with that pump — both of those fittings are actually Presta). I contacted Lezyne and they sent me a free replacement hose for free, which was super nice of them (great customer service as well).
All of the tools laid out:
Bobike Mini+ On Brompton
 I hope someday in the nearish future my child will want to ride a bike with me badly enough to necessitate the itchair for my Brompton. Until that day, I’m saving up my pennies, because at $360 it ain’t cheap.
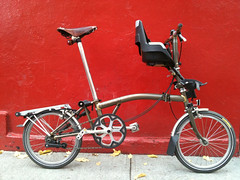
In the meantime, she’s small enough and light enough to use the Bobike Mini+, which I was able to find locally on CraigsList for $40 in a decent color and pattern. The factory-supplied mount works great on my beater bike, but the mounting bracket was far too narrow to fit on my Brompton frame and it would have been too bulky to allow the bike to be folded anyway. So I began work on a custom made mount.
I contacted a number of local metal workers to build a small bracket with mounting tubes to accommodate the Bobike, but the job was too small for most of them to take it up. Others, though interested, priced me out of the market (one guy quoted $300-$500 for the part). I’ve still got a couple of leads to follow up regarding a “production” version of the clamp, but on Thursday I fabricated a first prototype mount and last night I completed the second prototype.
The construction is simple: the bracket is held in place with a U-clamp that has been covered in plastic tubing. The bracket itself is a piece of 1-1/4″ heavy-duty steel that’s been folded over on itself and drilled to accommodate the clamp. There is a small spacer (made of wood) to keep the bracket spaced properly and to keep the Bobike’s pegs sit firmly in place.
The most recent design is pictured above. A couple more photos: a close-up of the second prototype design and the bike half-folded in its natural habitat.
UPDATE 8/2012: I’ve gotten some comments about this post and looking back on it, I’d probably recommend against trying this. The chair itself won’t accommodate a lot of weight (it’s rated to something like 30 lbs). I used this set up pretty regularly with my daughter until she was ~26 lbs. But after that, her weight started to affect the bike’s steering negatively (especially when she moved around a lot, which toddlers tend to do).
In New York you must wait until your child is 1 year old to put him/her in a bike seat. One year olds usually weigh in at ~20 lbs. This means that there’s a relatively short window in which you can realistically use a seat like this. And even then, the safety is a bit dubious (especially in my case with my shoddy workmanship).
The Downtown: a Better Brompton Bag from Ortlieb
Brompton sells a bag made by Ortleib. The good folks at Bicycle Habitat have one in stock and it’s beautiful. But they’re asking $350 for it! That’s too much money. Eric, at Bicycle Habitat, showed me the Ortlieb “Downtown” and we both agreed that with some tweaks (he reckoned one Sam-Adams’-worth, I figured closer to two) the bag would fit easily on my existing S-frame. The Downtown retails for a still-steep, but slightly more reasonable, $150 (ouch! REI is selling it for $104).
I don’t normally drink Sam Adams, but in honor of Eric I got two from the corner bodega and broke out the tools. Happily, the inner lining of the bag zips open to reveal the padding and guts within. With a phillips screwdriver and torx wrench I removed some grommets, nuts, and bolts and the quick-release mount came off easily. Then I measured and drilled new holes for the straightened bracket.
Measuring for the S-frame, the bracket landed between the two existing mount points, about a half inch (at center) above its factory location. I had to relocate the stabilizing cleat to the upper radius to clear the Brompton S-frame’s hardware.
The Downtown bag is slightly larger than the Brompton O bag (30 liters vs 22 liters, based on my own measurements) and is, in my opinion, better looking. The mount certainly isn’t as elegant as the built-in Ortlieb/Brompton O bag mount (which is really nicely done). But come on… the modified Downtown costs half (or 1/3) as much and is twice as flexible! I can now use this bag on any of my other bikes with a rear rack (I’ll simply remove the bag from the S-frame and click it onto my other bikes’ rear pannier rack).
Also, I have the satisfaction of having built it myself. Degree of difficulty: 1/2 Sam Adams.
Brompton US Championship
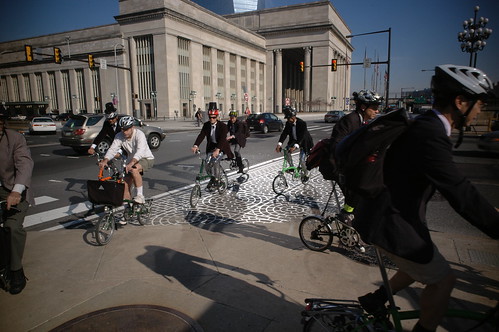
I participated in last weekend’s Brompton U.S. Championship in Philadelphia’s Fairmont Park. The race was only six miles long, but it was brutally hilly and unseasonably warm.
In a tongue-in-cheek nod to the Brompton as a commuter bike, all participants are required to wear business attire during the ride (coat, tie, collared shirt, and helmet). The event begins with a Le Mans Start where each racer runs to his/her bike, unfolds it, and pedals across the start line. My buddy Ted was first out of the gate and I was four riders behind him much of the time. He finished 10th overall and I came in 12th (in a field of approximately 60).
Tons of photos are available here.
If you own a Brompton and this event is offered in 2011, it comes highly recommended. The event went smoothly and was a lot of fun.
Project Bike

I’ve been working on this 1993 (?) Specialized Allez for a while. It’s been neglected for a few years and needs some updating (or maybe “retrofitting” is more appropriate). I replaced the bar tape and saddle. Now, all I need are an American Classic front hub (to replace the Campy understudy that’s standing in for the original, broken AC), a set of 36 hole Mavic Open 4 CD hoops (just like everyone else in the world who’s looking for a pair of bulletproof 90’s rims), and a clamp on FD-7400 Dura Ace front derailleur. Got any you want to sell?
LED Headlight
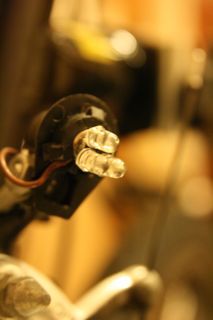
Tonight I did a much simpler version of this to turn a regular dim incandescent bulb into a three-led super-light. It did take some soldering, but the job was straight-forward (no “electrical” work was required).
UPDATE: This doesn’t work. Some “electrical” work is required. The bulb works for a mile or so, but dims and eventually goes out. I’m going back to incandescent.
…and then there were eight
 I realized tonight, upon the sale of T’s Bianchi “Cross Project USA” Cyclocross, that we’re down to eight bikes in the basement (E’s Eddie Merckx went to Phillly over the weekend). I sold the Bianchi to a very kindly gentleman and his wife (who drove a hard bargain).
5 Boros, 1 (Required) Rest Period
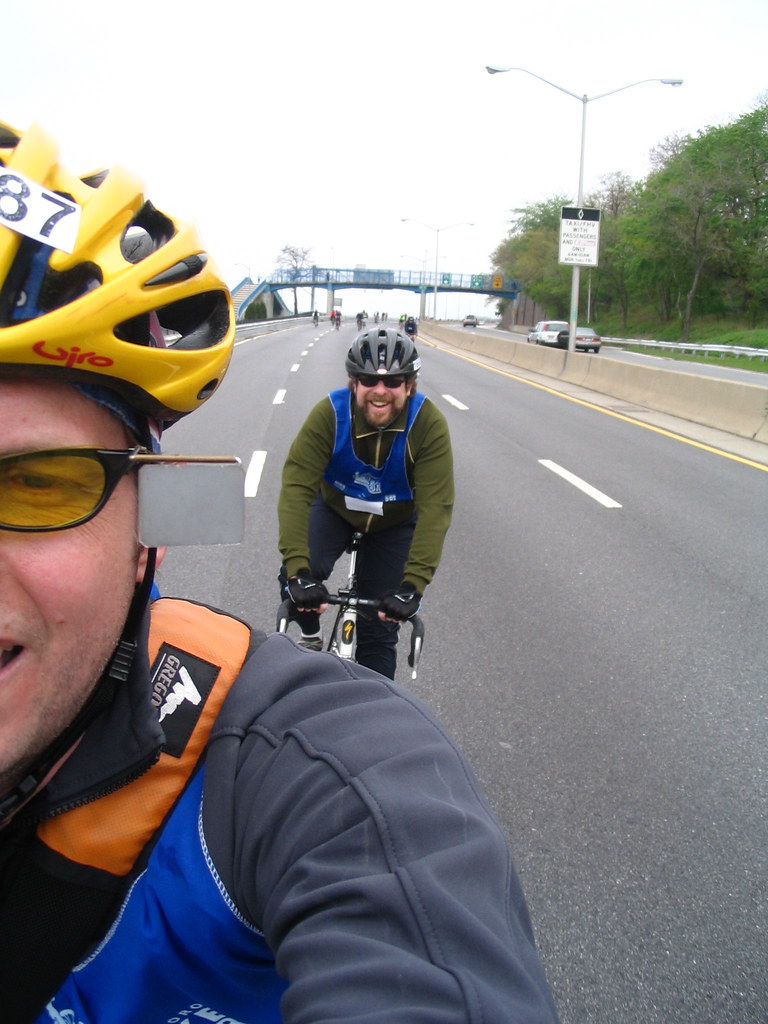 T and I did the 5-boro bike tour this year. We put in a fifty-mile day, which is more than I’m used to on any given Sunday. It was a lot of fun, though, and it turned out to be a beautiful day. More pics.